
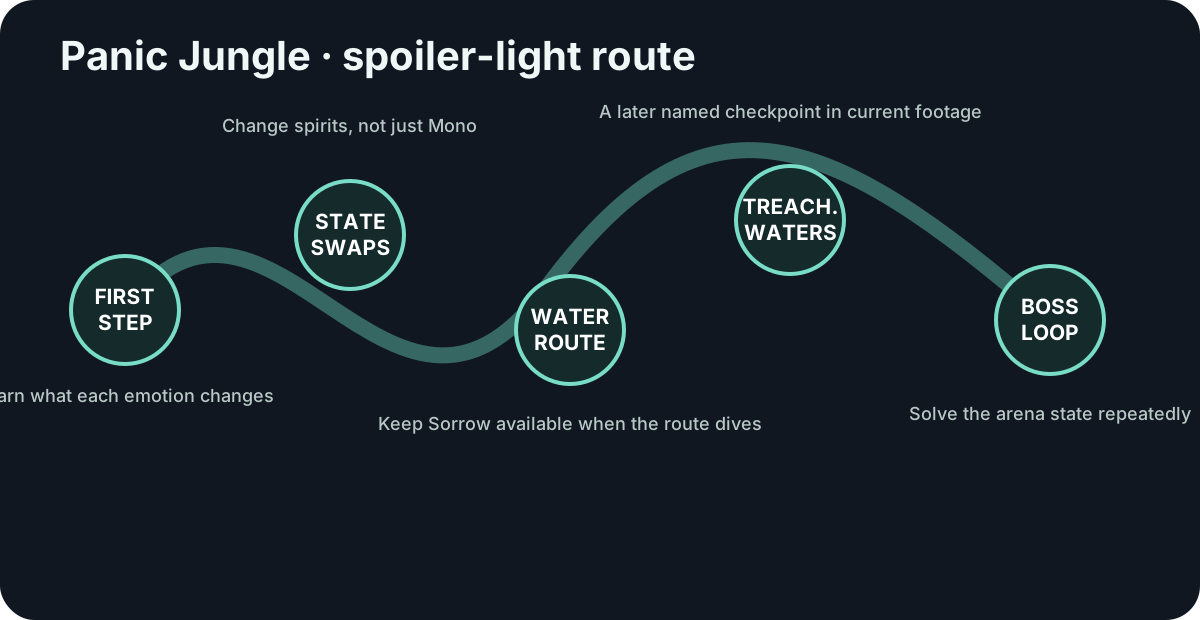
Before you start: what this walkthrough covers
The official demo description identifies its chapter as World 1, The Panic Jungle, a realm consumed by Anxiety, and says the chapter ends with a boss. Long-form demo/playtest footage gives enough route evidence to explain the core sequence and common stalls, but this page deliberately avoids invented collectible totals or later-world information.
If the shipping build changes a checkpoint or small platform sequence, use the mechanic logic here rather than treating every jump as a coordinate-perfect script. The important route information is which emotion the room is teaching and where players typically spend it too early.
The First Step: learn the four jobs before chasing pickups

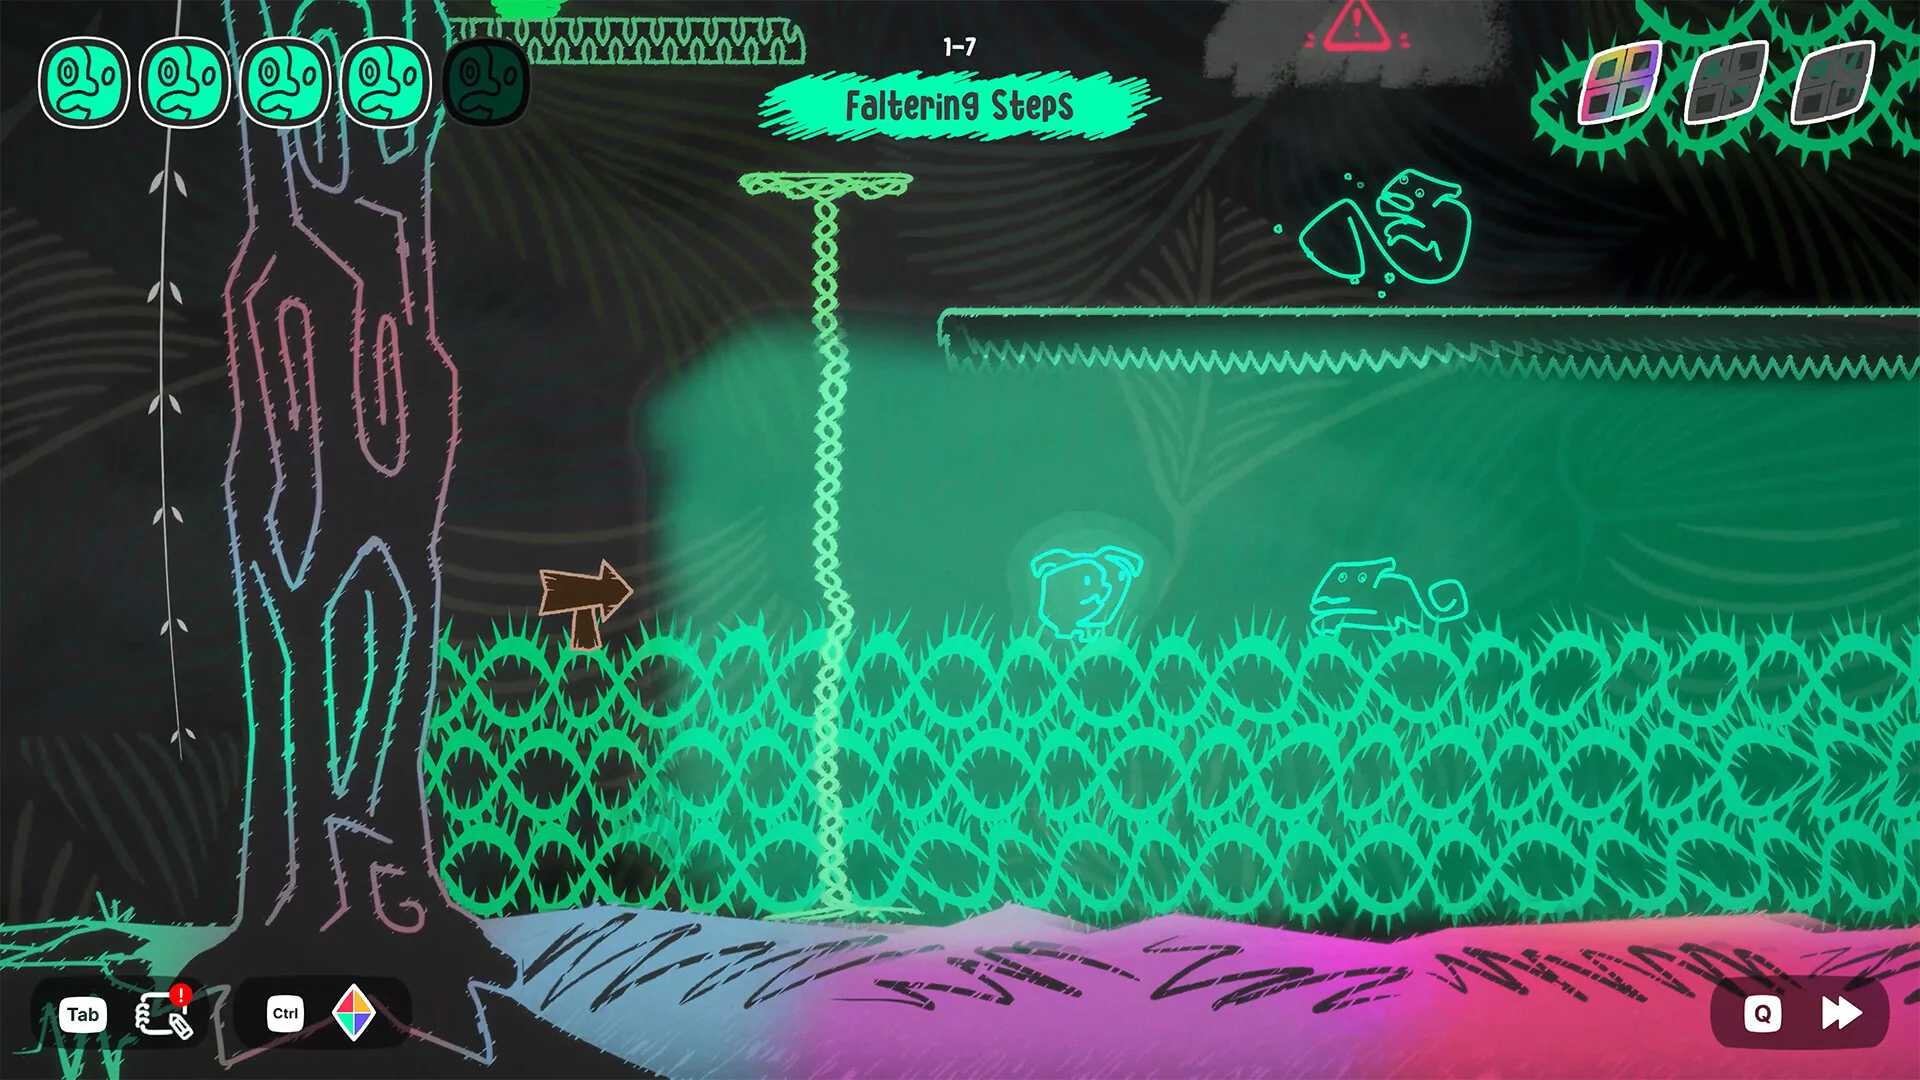
Early footage names a section The First Step. Use it as a mechanics lab. Happiness is the “go higher” state, Sorrow handles narrow passages and later water routes, Anger supports wall/force interactions, and Anxiety exposes or mitigates danger. The in-game book shown by creators records these roles, so open it if a color starts to blur together in your memory.
Your first goal is not a perfect collection run. It is to recognize the visual language: high ledge, tiny gap, wall chain, hazard lane. Once you can map obstacle → emotion without guessing, the rest of the jungle becomes much more readable.
The jungle spirit lesson: emotion changes behavior
One of the earliest useful examples is the alligator-like jungle spirit. Current footage shows it behaving as a threat in one state and as a movement helper in another. That is the moment MONOWAVE stops being “four power-ups” and becomes a system of editable actors.
If a creature is blocking a lane, do not immediately dodge it forever. Try to determine whether the room supplies an emotion specifically so you can change that creature. Happiness is especially important in the early jungle because it can turn a mobility problem into a spirit-assisted route.
Small carriers such as butterflies also appear in current footage with emotion-state interactions. The practical rule is simple: if Mono has the right color and the geometry still does not work, look for another target that can receive the emotion.
Mixed-state rooms: preserve the second answer
The first genuinely confusing rooms are not hard because any single mechanic is obscure. They are hard because the room expects a sequence. You may need Happiness to reach a platform, then Sorrow to continue through a gap; or Anger to manipulate a spirit, then Anxiety to cross the dangerous lane that opens.
This is where several creators start asking variations of “what do I need here?” and resetting after spending a state too early. The fix is to identify the final gate first. If the exit is clearly a narrow passage, do not consume the only accessible Sorrow source on an optional detour unless you know another source is ahead.
- Mark the final gate.What mechanic is closest to the exit?
- Work backward one state.What lets you reach the source needed for that final gate?
- Only then choose the first emotion.This turns the room into a two-step plan instead of color roulette.
When the route starts using water, guard Sorrow
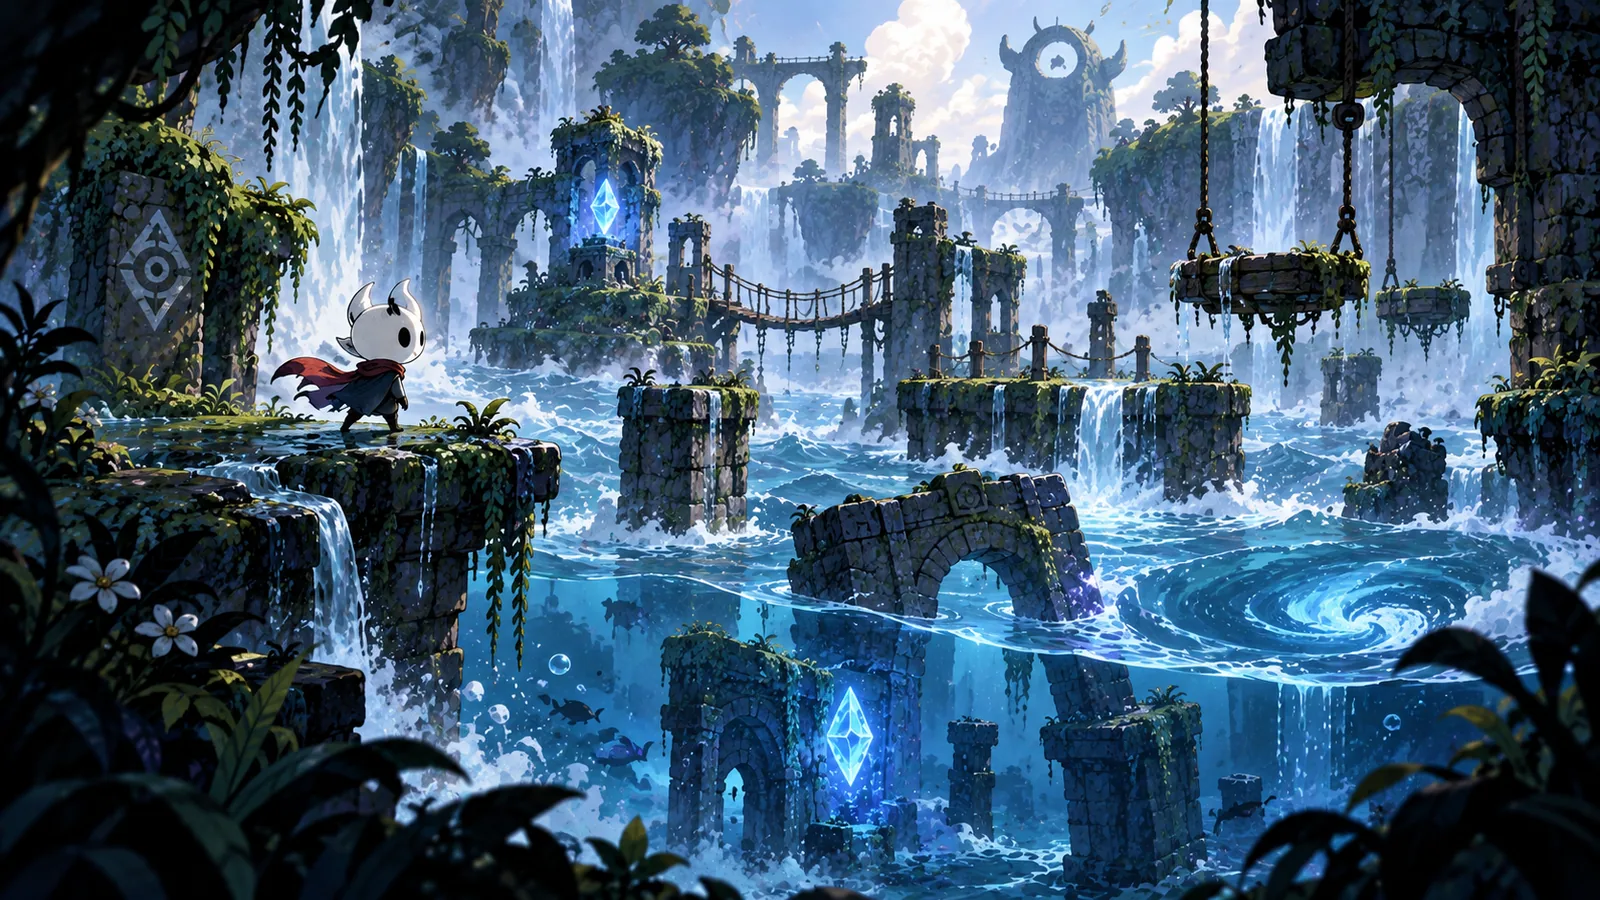
Current walkthrough footage connects Sorrow with squeezing through tight spaces and water-heavy traversal. Once the jungle begins pushing you toward water, stop swapping away from Sorrow casually. A common stall in creator footage is reaching a promising path, realizing Sorrow is required, then having to search backward for a source.
Water also changes how you read verticality. The route may continue below your current platform rather than above it. If the obvious upward jump seems impossible and there is a submerged or narrow opening nearby, the level is often asking you to change the kind of movement rather than execute a harder jump.
Treacherous Waters: the named Level 6 checkpoint in current footage
One current long-form walkthrough explicitly identifies Treacherous Waters as Level 6. Treat that name as demo/pre-release evidence rather than a promise that every release build will preserve the same numbering.
The useful preparation is mechanical: by this point you should be comfortable reading water as a Sorrow signal, using checkpoints as clean puzzle resets, and preserving an emotion through more than one traversal beat. If you arrive still solving each obstacle independently, the route will feel much harder than it is.
Before leaving a safe platform, identify two things: the next stable landing and the state you need after that landing. This is a better survival rule than reacting only to the hazard directly under Mono.
Late-jungle platforms: separate execution failure from logic failure
Near the back half of the documented chapter, creators repeatedly struggle with rooms that combine moving helpers, hazards and state swaps. Do not assume every death means the route is wrong. Use a simple test: if you can clearly explain why the selected state should make the next interaction possible, retry the execution. If you cannot explain it, stop and re-read the room.
That distinction matters because MONOWAVE can make an incorrect solution feel almost reachable. A Happiness jump may get close to a wall route that actually expects Anger. If a jump repeatedly misses by the same small margin, that is evidence to reconsider the mechanic, not a command to grind harder.
Boss approach: carry the state-puzzle mindset into the arena
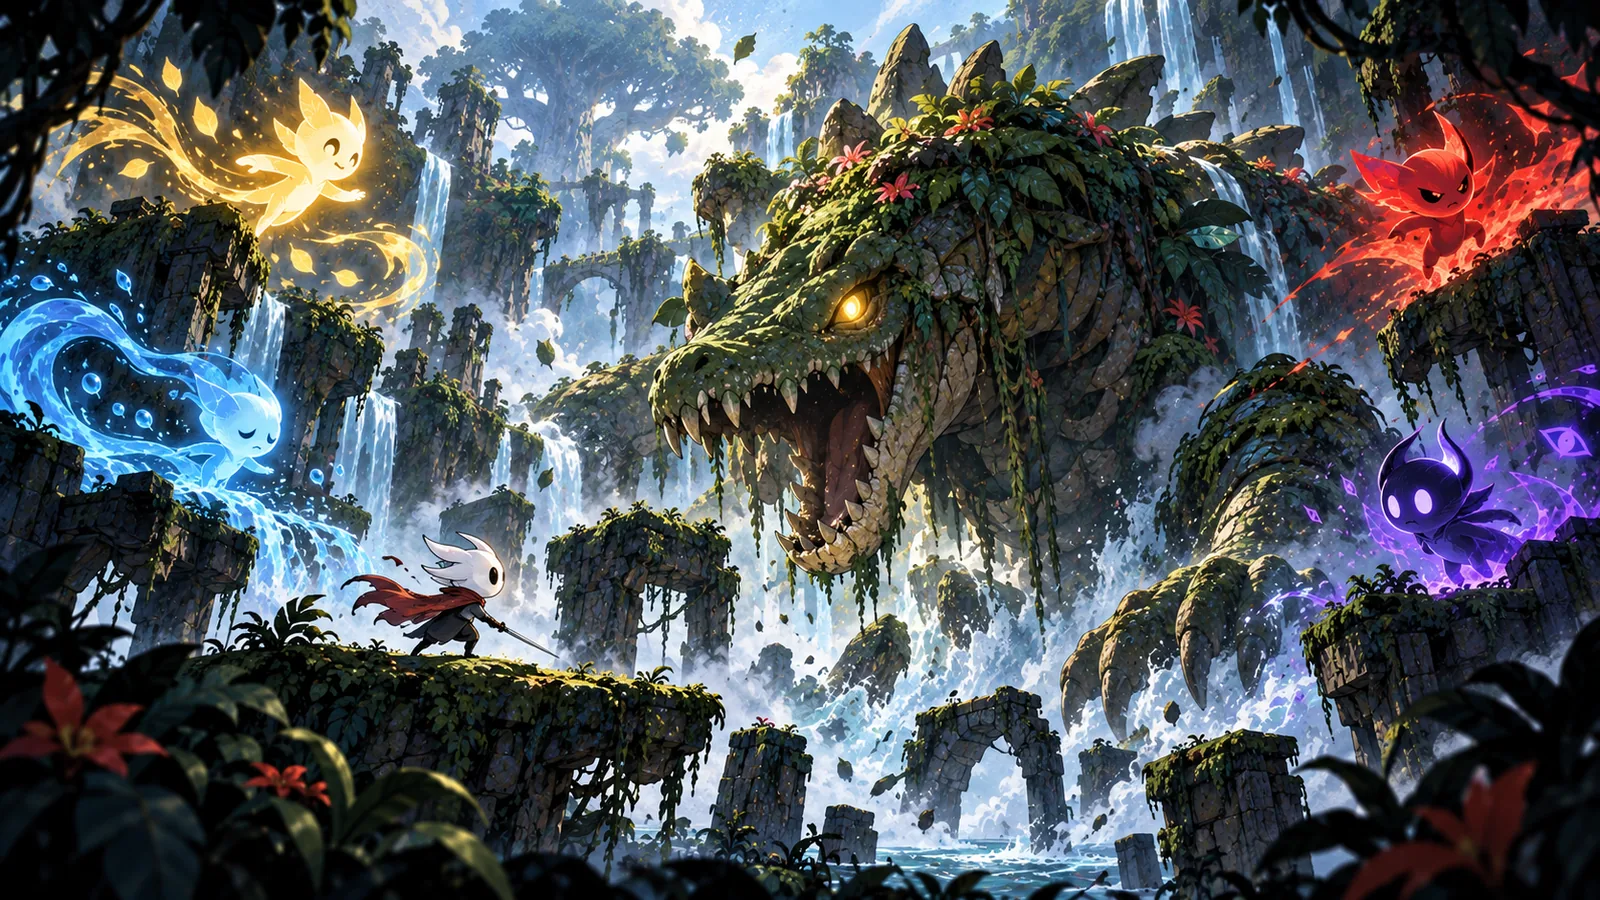
The official demo description confirms a boss at the end of the Panic Jungle. Current footage shows the encounter progressing through emotion/state manipulation rather than straightforward damage. Go in expecting to read the arena, acquire the needed color, change the relevant target and reposition.
Do not burn an emotion just because it is available. The boss sequence can ask you to preserve a state until you reach the correct side of the arena. If progress appears to stop, the first troubleshooting step is to ask which target you changed — not whether you attacked enough.
Missed pickups: when to backtrack and when to finish the route
Long-form footage clearly shows optional-looking pickups distributed through the chapter, and creators notice missed items mid-run. Exact final totals are not published here because the shipping build may differ and the current evidence does not support a complete authoritative count.
For a first clear, prioritize learning the route. When a pickup is visible behind a side interaction you understand, take it. When collecting it would require abandoning the only state you need for the main exit, mark it mentally and continue. The Panic Jungle checklist is designed for this two-pass approach: clear the mechanic first, sweep the room second.
World 1 completion checklist
- Can you explain all four emotions without checking the book?
- Can you identify whether Mono or a spirit should receive the emotion?
- Have you used Sorrow deliberately on a narrow/water route?
- Have you reset a checkpoint when the state chain became unrecoverable?
- Did you enter the boss thinking “state puzzle,” not “damage race”?